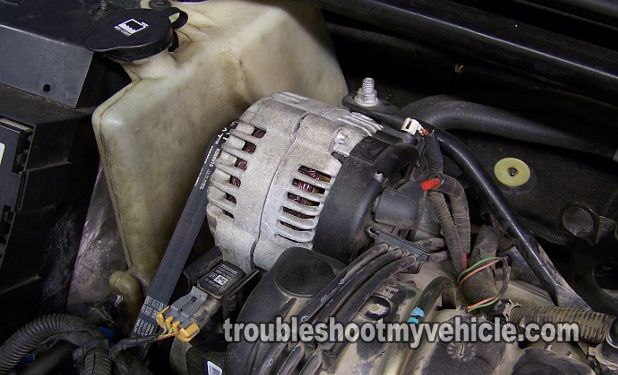
Testing the alternator, to see if it's the cause of your 3.8L GM vehicle's no charge condition, is something that you can do in three easy tests. This article will show you how in a step-by-step fashion. All you need is a multimeter.
This article covers the majority of 3.8L Buick, Chevy, Olds, and Pontiac equipped cars and mini-vans. To see if this alternator test article covers your specific 3.8L GM vehicle and alternator, you can take a look at the list of applications on the box labeled 'Applies To:' on the column on the right and scroll with the prev and next links.
Contents of this tutorial:
Symptoms Of A Bad Alternator
The most common symptom of a bad alternator are:
- The most obvious will be that the battery light will be On in your vehicle's instrument cluster.
- When you turn on the headlights, the glow very dim.
- Your vehicle starts easily with a jump-start, but only runs a few minutes until it stalls.
- Every time you re-charge the battery, the vehicle starts fine, but after the initial trip, it needs to be jump-started.
ALTERNATOR TEST 1: Checking Battery Voltage With Engine Running
To successfully accomplish this test step, you'll need to make sure that the battery in your 3.8L GM vehicle is fully charged. This is very important, so, if the battery is discharged, charge it first and then proceed with the following tests.
Lastly, if you're wondering what type of multimeter you need, it can be a digital multimeter or an analog multimeter. OK, the very first thing that you're gonna' do is to check, with your multimeter, the voltage of the battery while the engine is running.
These are the steps:
- 1
Start the car or mini-van and test the battery voltage with your multimeter by placing the RED multimeter's test lead on the positive battery terminal and the BLACK test lead on the negative battery terminal.
- 2
Your multimeter should read 13.5 to 14.5 Volts. If it doesn't, don't worry about this just yet.
- 3
Now, have a helper turn on any and all accessories from inside the vehicle, while you keep your eyes on the multimeter's display.
To be a little more specific, have him or her turn on the headlights, the A/C or heater on High, the windshield wipers, the radio, the rear window defroster, etc.
Turning On all of these accessories will place a load on the charging system (alternator) and will let you know if the alternator can handle it or not. - 4
Every time something comes On (inside the vehicle), you'll notice a slight or major change on your multimeter. It will do one of two things:
1.) The multimeter's DC voltage will decrease slightly and then stabilize around 13.5 to 14.5 Volts DC when something comes on.
2.) The DC voltage reading will start to decrease till it reaches 10 Volts DC and your vehicle may stall. - 5
OK, now that the test is done, take a look at the following alternator test interpretations to find out what your specific multimeter test result means in the next page.
Take a look at the following test interpretations to find out which one best fits your multimeter test results:
CASE 1: The multimeter maintained a 13.5 to 14.5 Volts value thru' out the whole test. This result confirms that the alternator is charging the battery and providing enough electrical power for any electrical load that is applied to it.
Here's why: The battery's voltage, at rest, is 12.5 Volts. So one of the best indicators that the alternator is charging it, is verifying that battery voltage should be at 2 Volts over battery voltage (at rest) when the engine is running.
CASE 2: The multimeter DID NOT maintain a 13.5 to 14.5 Volts value. This usually means that the alternator is bad.
Here's why: Since the alternator is not charging the vehicle or providing power for all the stuff you turned On, your car or mini-van is running off of the Battery only. As the battery's juice starts to deplete, your multimeter shows a decreasing voltage reading.
You could stop here and replace the alternator. Around 90% of the time, you would hit the nail right on the head and solve the No Charging Condition. But to be absolutely sure, I suggest doing two more very simple tests. For this first one, Go to: ALTERNATOR TEST 2: Checking Continuity Of Battery Circuit.
